
“I scream. You scream. We all scream for ice cream.” I don’t know how or where this chant started, but I can resonate with it even though I’m not a huge dessert person. I like them once in a while. I’m one of those people who would rather have an order of Five Guys french fries than a piece of cake for dessert. However, there are a handful of desserts that I love to eat once in a while. Ice cream is one of them. This is my husband’s favorite desert I’m sure he would love a soft serve ice cream machine in our kitchen, but we do have a lovely electric Cuisinart 1 1/2 quart ice cream machine which we bring out periodically. We often serve this “Vanilla Bean Ice Cream” when we have dinner guests, or we will make it for a special occasion (Birthdays, Anniversaries, etc.). This recipe is tried and true, and is always a hit at parties.
Vanilla Bean Ice Cream
1 1/2 cups of whole milk*
1 1/8 cups of sugar
2 cups half and half*
1 cup whipping cream*
1 tablespoon of vanilla extract (using a quality extract will make a difference)
1 vanilla bean (this is optional – if you do not use it – you’ll have a great basic vanilla ice cream)
rolled wafers, garnish (optional)
–You’ll need a 1 1/2 quart ice cream machine for this recipe
* I use Alexandre Farms A2 milk, and here’s why.
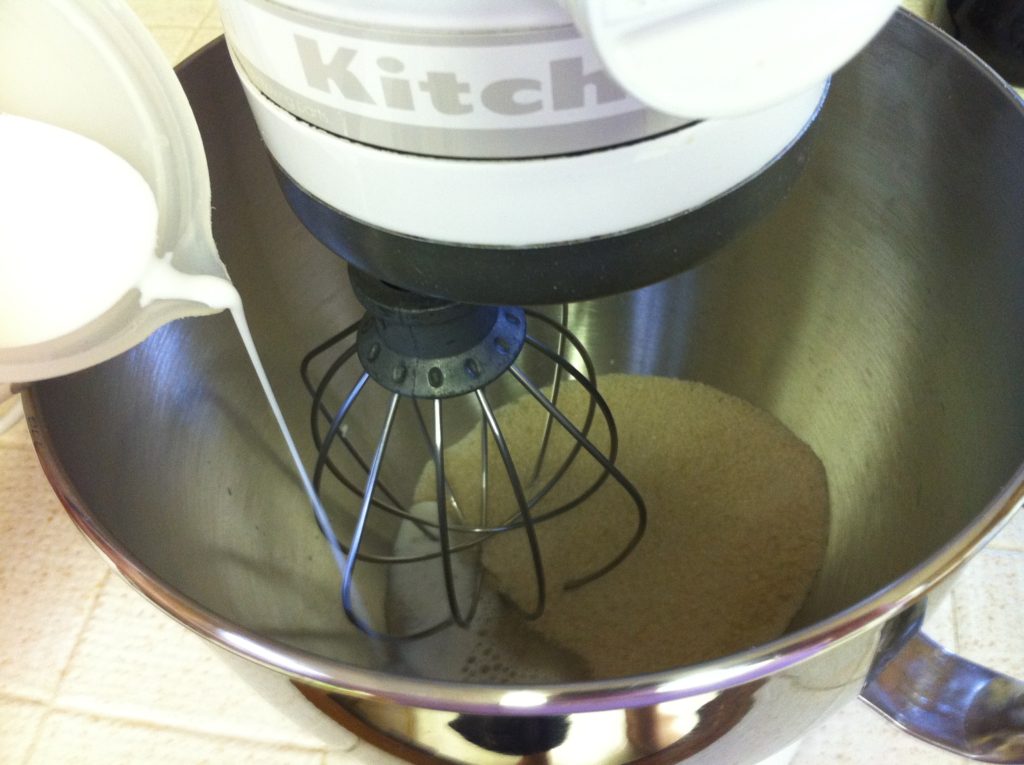
1. Blend whole milk and sugar together. I used my KitchenAid but you can use a bowl and electric blender or whip by hand. Mix on low until sugar is melted into the milk.
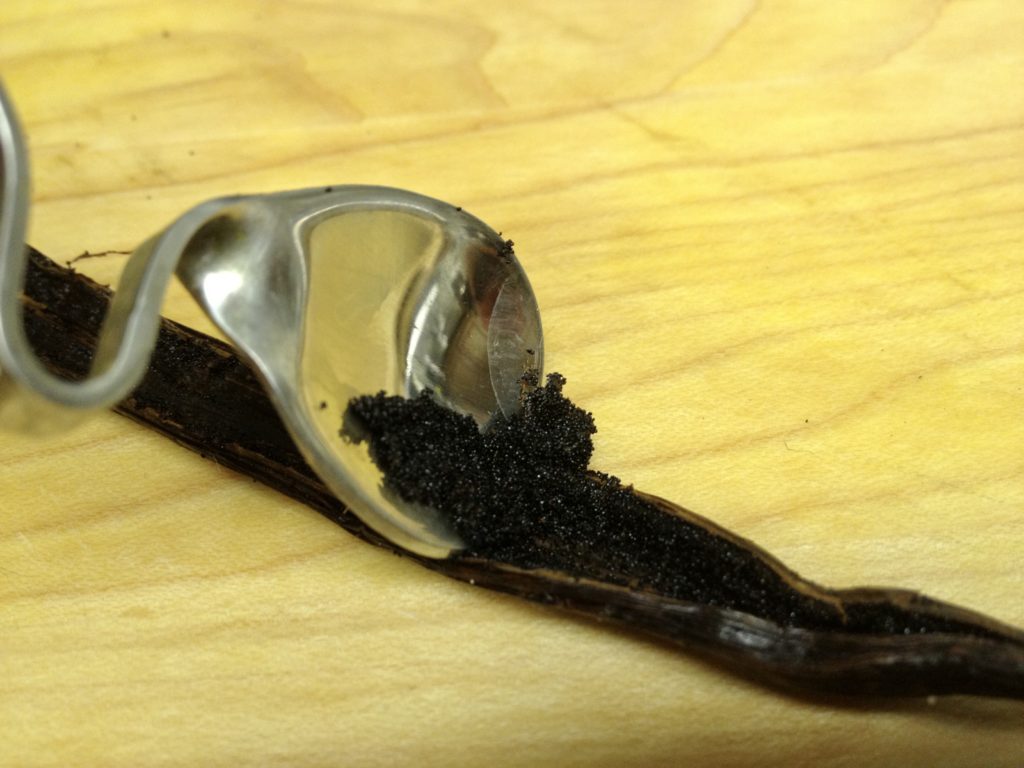
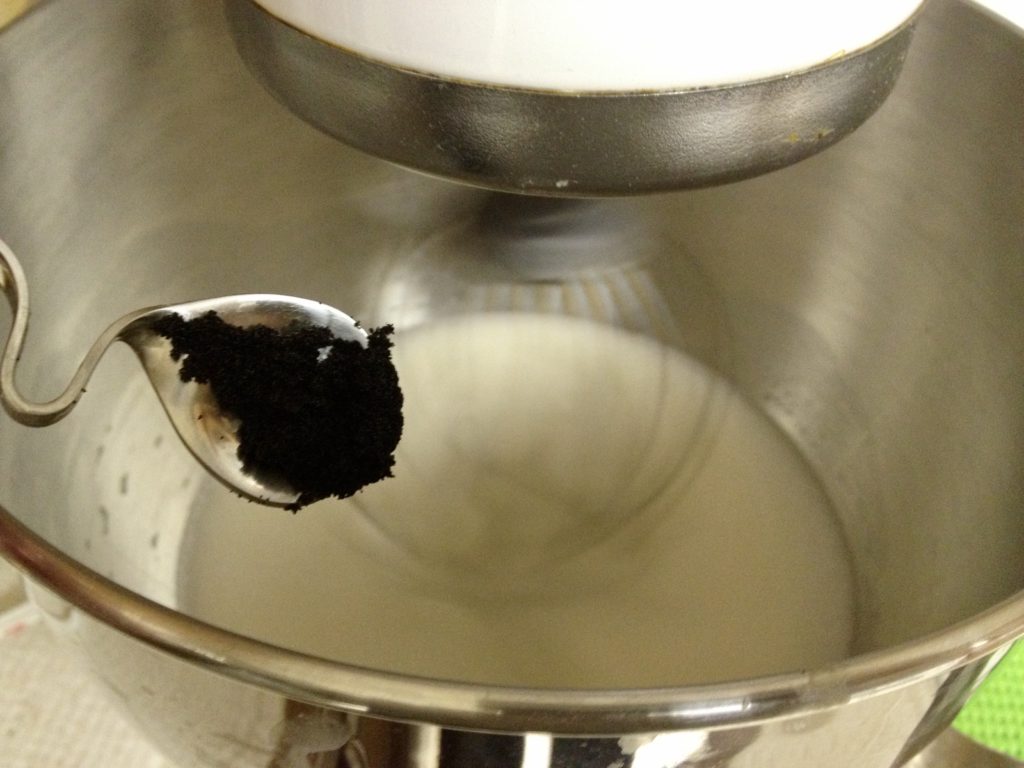
2. Prepare the vanilla bean by cutting in half without slicing all the way through. Gently open the pod and scrape out the seeds. (If the vanilla bean is not malleable, place it in a pot with a little bit of milk and heat gently until the bean is soft. At that point the bean will be easier to cut.)
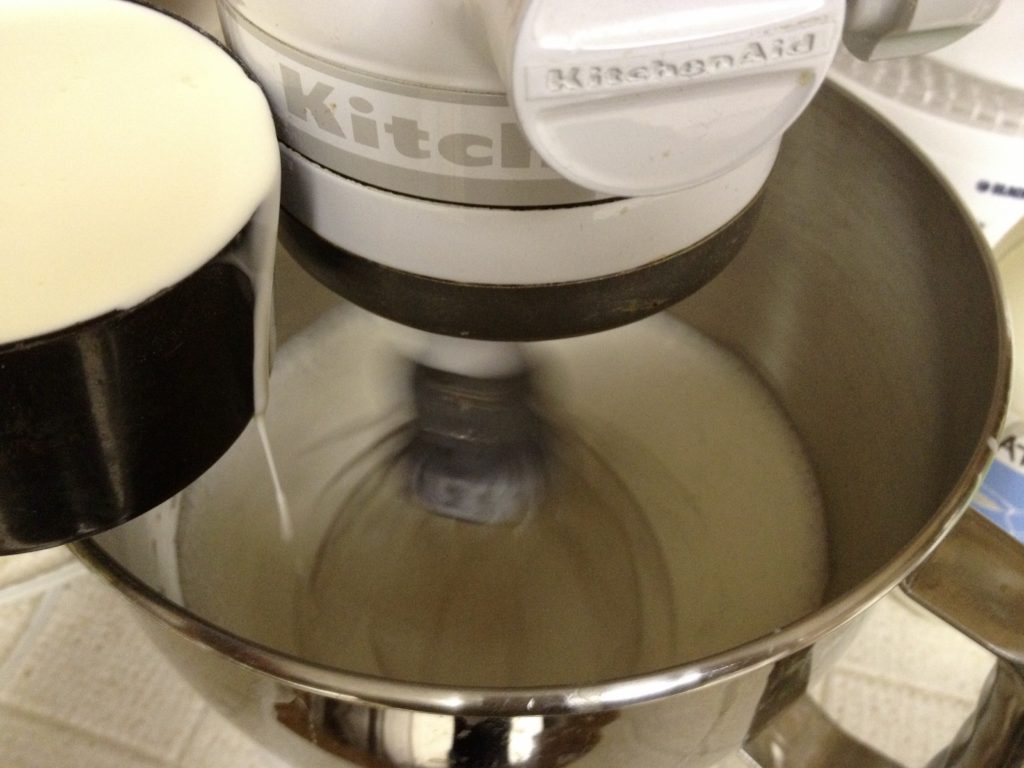
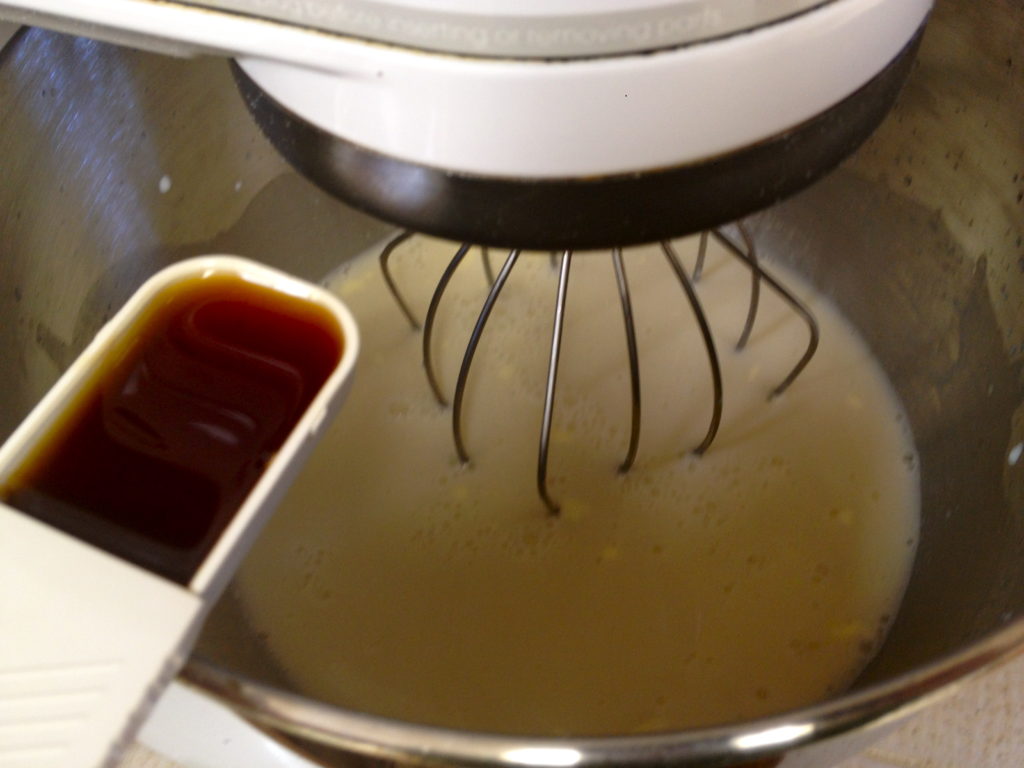
3. Add 2 cups of half and half and 1 cup of whipping cream to the milk and sugar mixture.
4. Add the vanilla beans to the ice cream base.
5. Add the vanilla extract to the ice cream base.
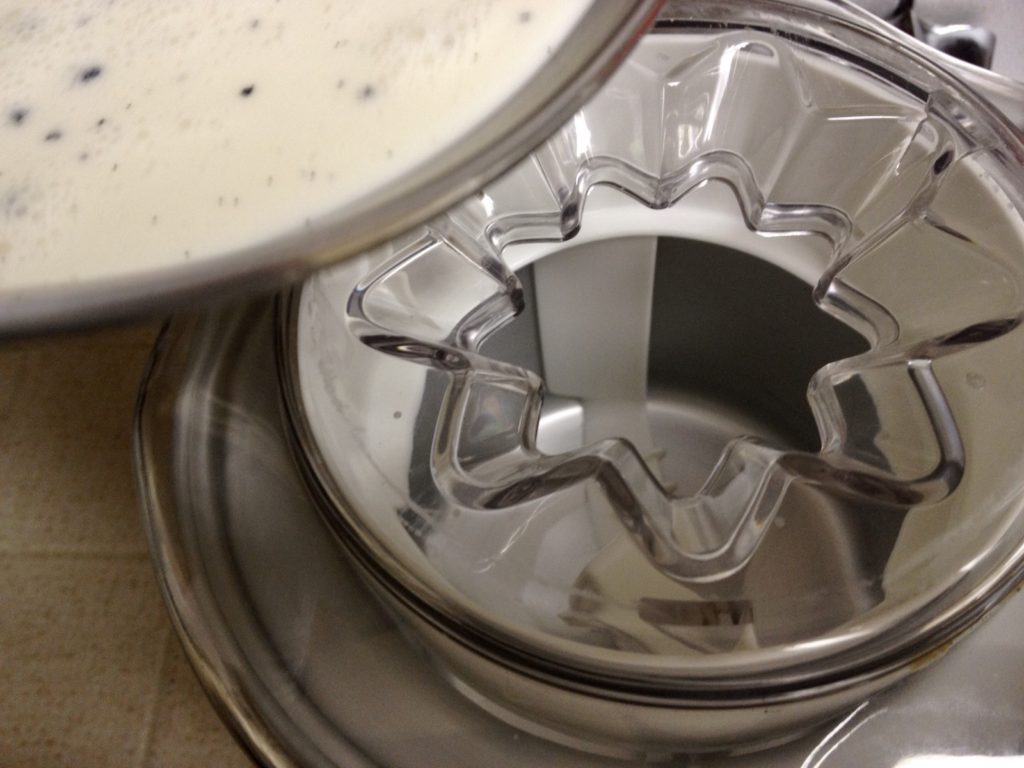
6. Add the ice cream base to the ice cream maker.
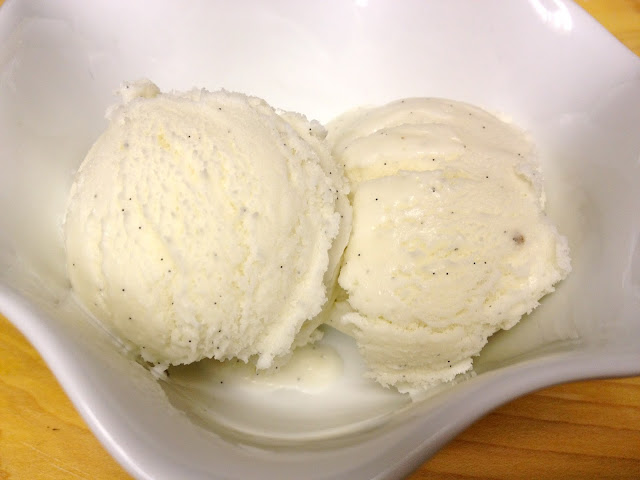
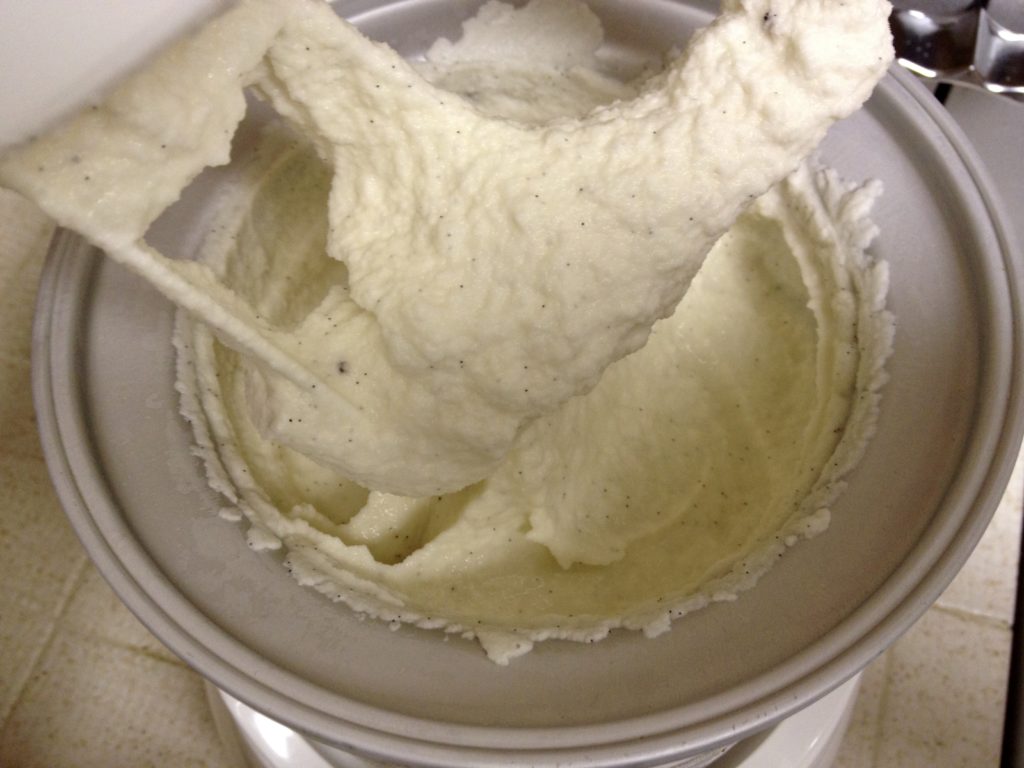
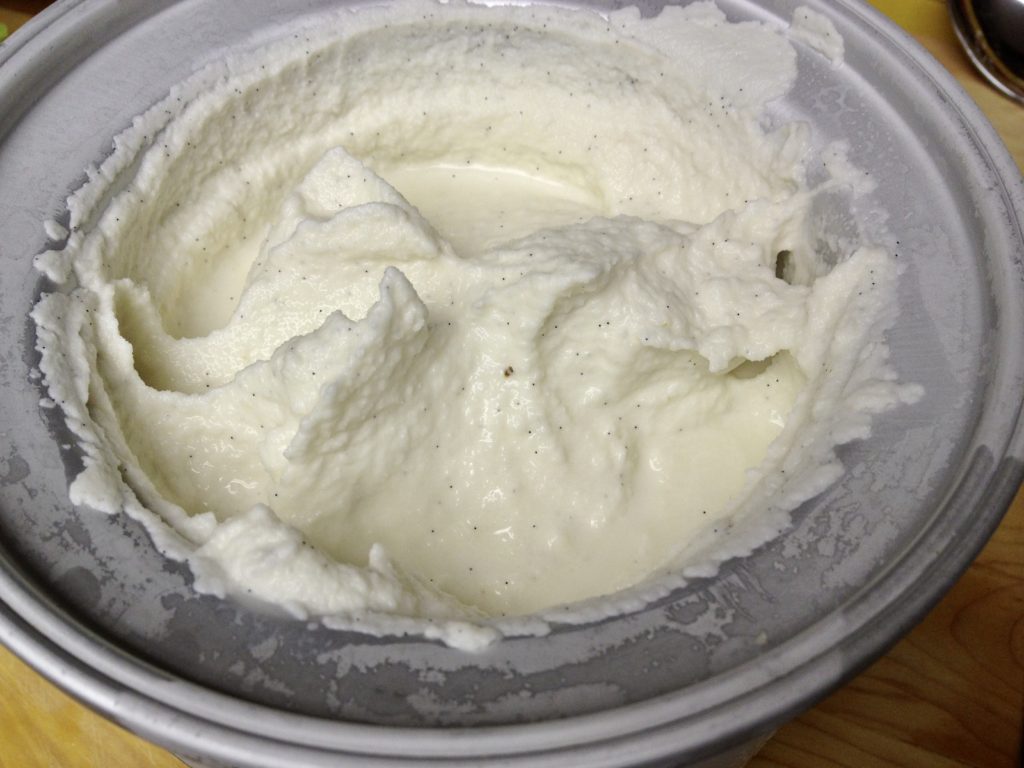
7. Follow your ice cream maker’s instructions. Our Cuisinart spins for 30 minutes before we transfer it to a separate container to harden in the freezer. This is what it looked like after 30 minutes.
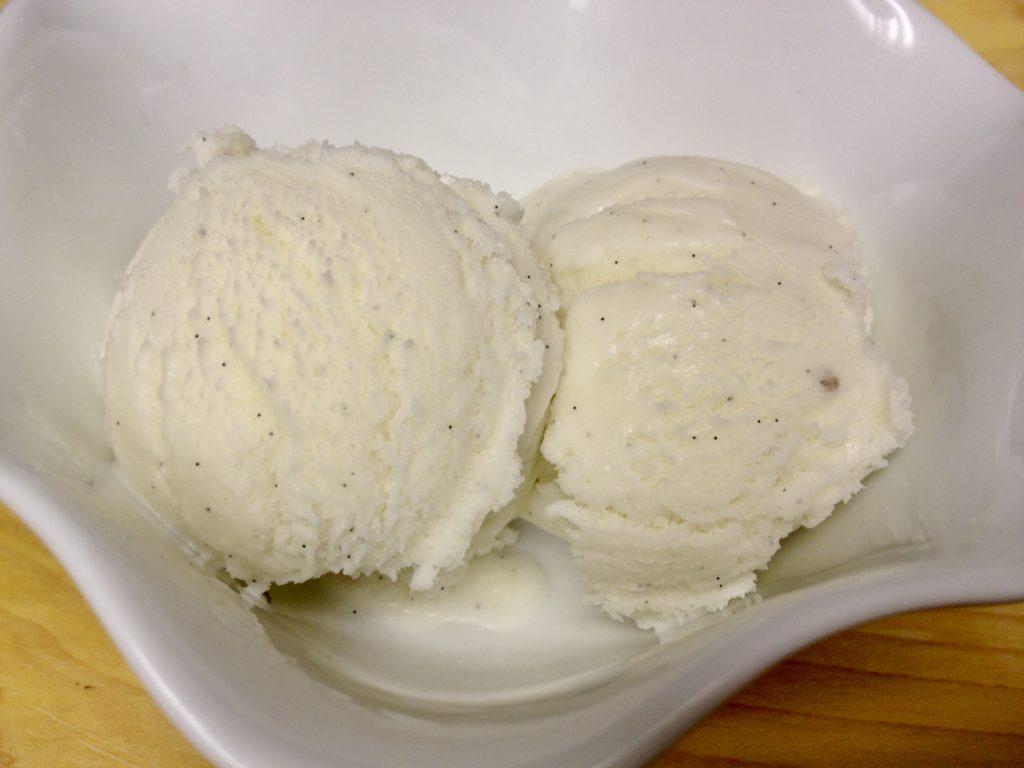
8. Use a spatula and scrape the ice cream into a freezer safe container. Keep in the freezer until 5 minutes before you need to serve it for dessert. Note: I personally like making the ice cream the day before I need to serve it. The consistency is perfect the next day and I don’t have to worry about dessert the day I’m serving it.
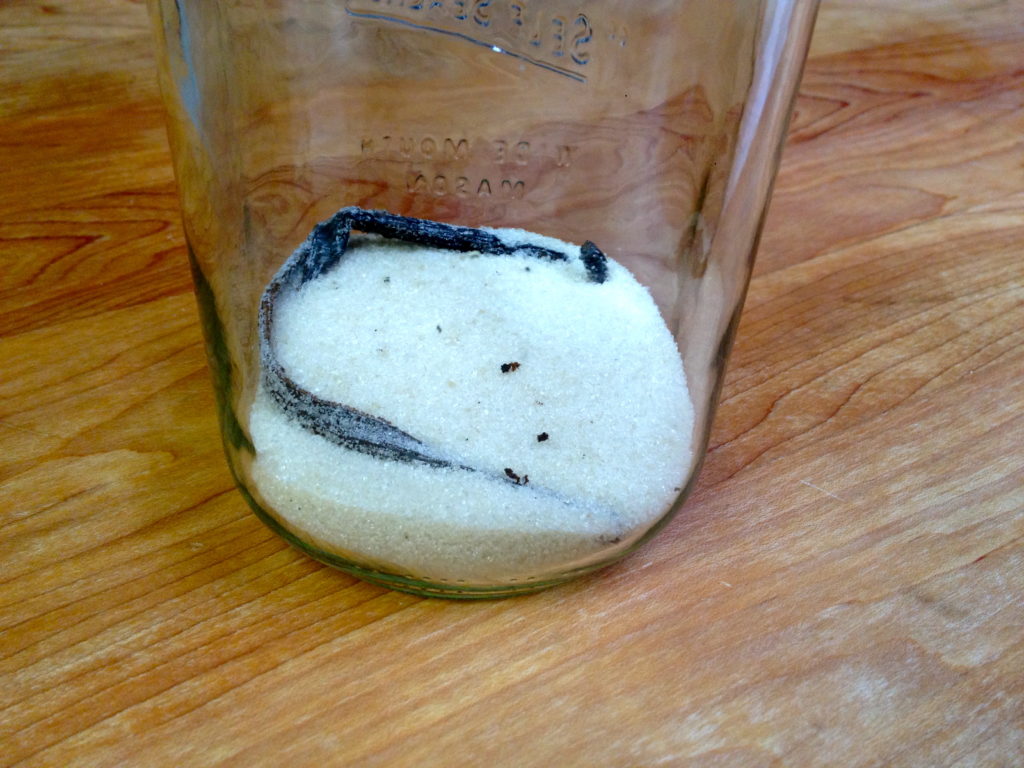
Kitchen Tip: Since vanilla beans are so expensive I don’t want to throw away the pod. Instead, I placed a pod in a mason jar with 1/2 cup of sugar. I’ll continue to save the pods and add sugar until I have a big jar of vanilla bean sugar.
Vanilla Bean Ice Cream
Ingredients
- Vanilla Bean Ice Cream
- 1 1/2 cups of whole milk
- 1 1/8 cups of sugar
- 2 cups half and half
- 1 cup whipping cream
- 1 tablespoon of vanilla extract (using a quality extract will make a difference)
- 1 vanilla bean (this is optional - if you do not use it - you'll have a great basic vanilla ice cream)
- rolled wafers, garnish (optional)
- -You'll need a 1 1/2 quart ice cream machine for this recipe
Directions
- Step 1 1. Blend whole milk and sugar together. I used my KitchenAid but you can use a bowl and electric blender or whip by hand. Mix on low until sugar is melted into the milk.
- Step 2 2. Prepare the vanilla bean by cutting in half without slicing all the way through. Gently open the pod and scrape out the seeds. (If the vanilla bean is not malleable, place it in a pot with a little bit of milk and heat gently until the bean is soft. At that point the bean will be easier to cut.)
- Step 3 3. Add 2 cups of half and half and 1 cup of whipping cream to the milk and sugar mixture.
- Step 4 4. Add the vanilla beans to the ice cream base.
- Step 5 5. Add the vanilla extract to the ice cream base.
- Step 6 6. Add the ice cream base to the ice cream maker.
- Step 7 7. Follow your ice cream maker’s instructions. Our Cuisinart spins for 30 minutes before we transfer it to a separate container to harden in the freezer. This is what it looked like after 30 minutes.
- Step 8 8. Use a spatula and scrape the ice cream into a freezer safe container. Keep in the freezer until 5 minutes before you need to serve it for dessert. Note: I personally like making the ice cream the day before I need to serve it. The consistency is perfect the next day and I don’t have to worry about dessert the day I’m serving it.